As you might imagine, this made us really happy since, first of all, we love to brew, even if it is not for our self, it allow us to continue practicing, revising recipes, refining our process and second of all, we are always happy to be able to help others.
Our labor started when with the request it self, we were requested not to brew "some" beer but "a" beer, we needed to suggest a beer that would really make an impact when tasted by the rest of the classmates assuring a successful entrepreneur class. We thought it should have a nice body, dark color but not a very bitter taste (just to make sure it pleases the low-hop palate of most Costa Rican's) so, having brew it before and knowing how it tastes we suggested to brew a Honey Porter.
Based on our previous experience, we required to adjust the recipe a little bit in order to bring down the final alcohol content (not that it bother us but.... well... they are students) 8.7% is a bit high and we believe that bringing it down to ~5-6% would provide a beer equally tasty that won't take you down that easy.
So, having done some calculations and adjustments, we started our process for brewing this version of the White House Honey Porter (we haven't come up with name, since it is a project, it should be the student who comes up with it), and here are some pictures and notes from our process :-)
Setting up the home-brewing equipment

Special malts lining up for the mill, just in case it is hard to read we have chocolate malt, crystal malt, black pearl and special roast

Getting our engineered grinding system in place, oh yeah!!!

A last look at the malts before going into the mill

Drill power!!! it has reduce our grinding time to less than 2 minutes with great results!!!


Final result, a lovely bucket of cracked grains

Personally, this is my favorite step of the process, the aroma the malts releases as soon as they touch the water is unbelievable!!!


While we waited for a few minutes prior checking on the mash temp, we had a nice discussion on the hops to be used

Perfect mashing temp: 67C
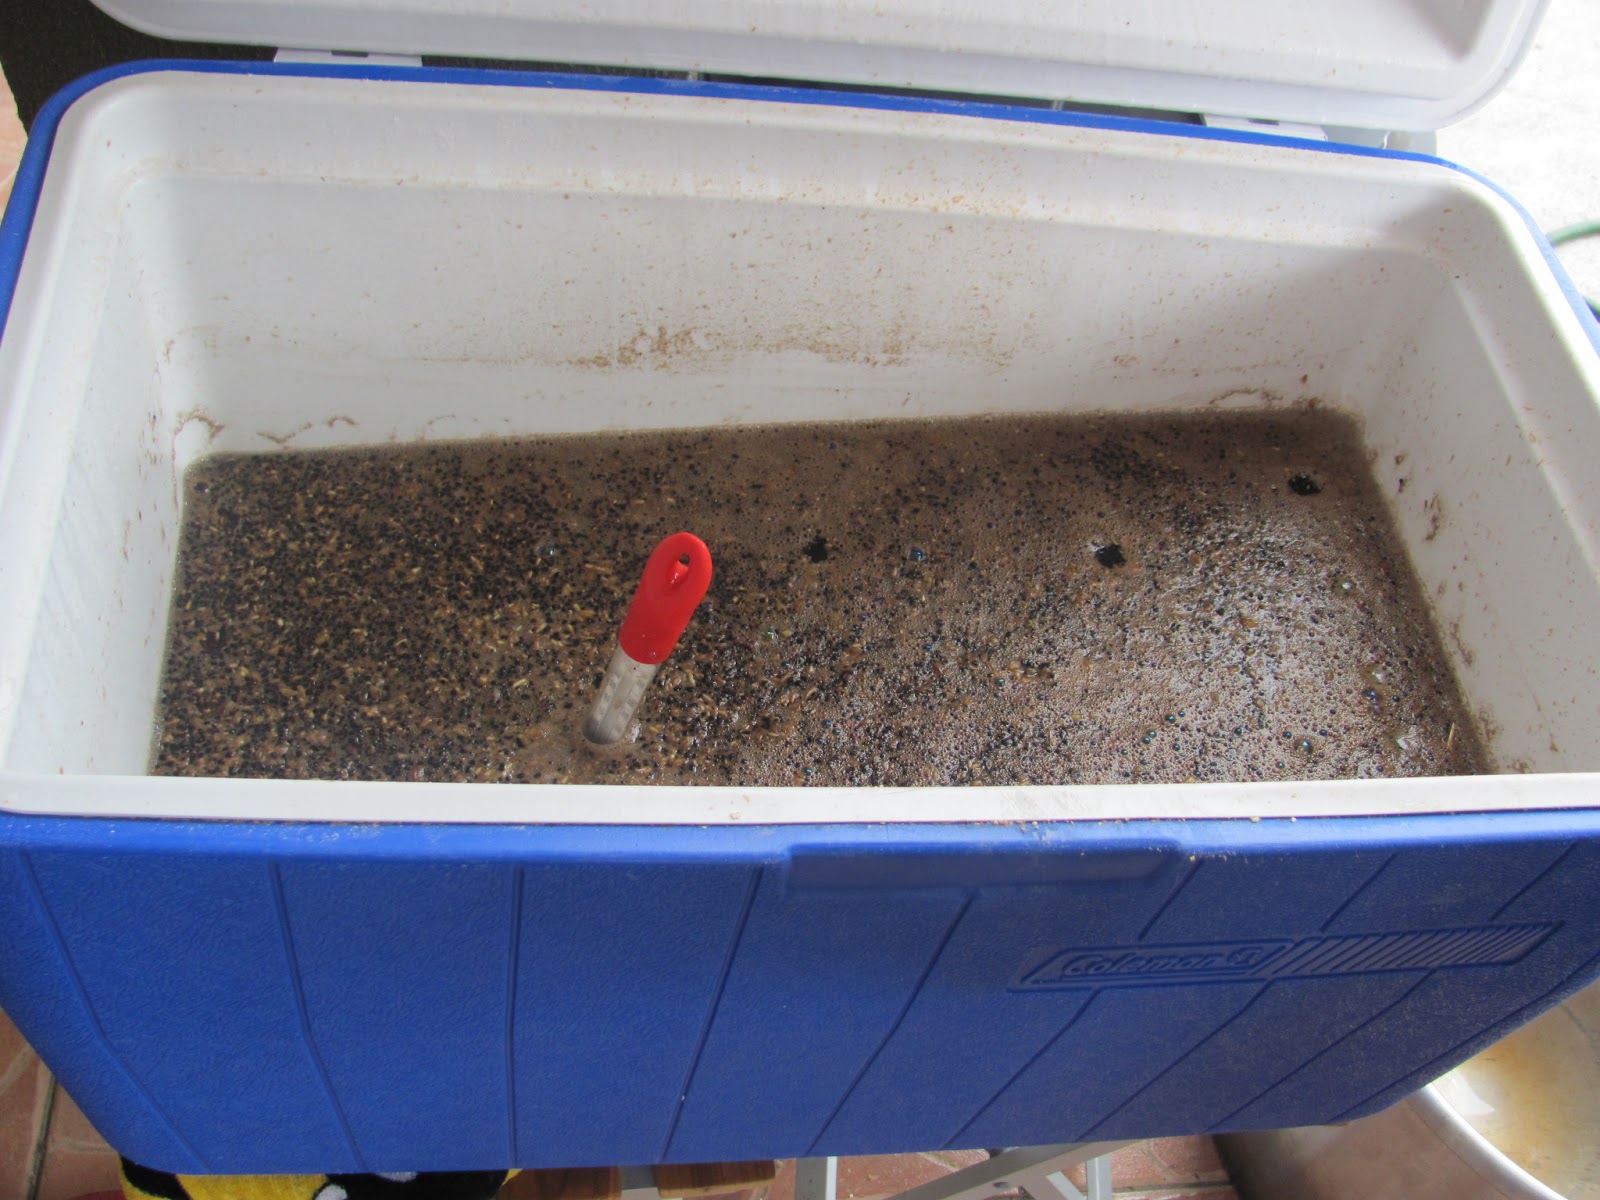
Whirlpool time!!! just look at that color!!!

Getting the wort!!!


Close to the hot break!!!

and the first addition of hops: Perle!!

At 5 minutes to the hour, we added the honey!!!

Always keep and eye on the temp ;-)

Siphoning the cool wort into the fermenting bucket, it takes a bit more time, but it is easier to control


Before pitching the yeast, make sure to capture the Original Gravity :-)

Then, pitch the yeast, put the lid and wait for 2 weeks for fermentation to be completed :-)

About 8 hours after we pitch the yeast, the first bubbles started to come out, 1 more hour and we had huge activity!!!, due to the high sugar content of this beer, we knew we couldn't use a regular airlock but a blow off system, just to avoid something going wrong :-)
See you again soon, we'll get more pictures when we bottle this baby :-).
No comments:
Post a Comment