Monday, May 6, 2013

Getting ready for our anniversary!!!

A little bit more than a year ago, I knew very little about beers, I knew there were divided into Ales and Lagers and that Stout were black as night but not much more; of course I love to drink them but wasn't quite interested in understanding how they were produce.
On 2012 the 1st Festival de Cerveza Artesanal was an eye opener!!! with enough luck to find out about it on the right time and with the support of my lovely wife, I got a couple of tickets and along with my wife and my 4 months old daughter we headed into the new world developing in Costa Rica.


I was amazed to look at all the different kinds of beers being showed off and presented by many different brewers, it was hard to believe that someone in Costa Rica was home-brewing such delicious beer!
After paying close attention to the different speakers and listening closely to they presentations the possibility of gaining the knowledge and the materials required to make our own beer was now right in front of us.
After having a quick chat with Chema we didn't hesitate to sign up for this "Cachuita Amber Ale" beer brewing class; it is one of most exciting experiences ever, just to realize that you are transforming grains, water, hops and yeast into your own beer is a feeling you'll keep for the rest of your life!
Having take very accurate notes of the training, I started collecting all the equipments needed to start home brewing:
  • A large pot
  • Cooler (that was modify to serve as mash tun)
  • Some PVC to build our filter
  • The brewing kit from TicoBirra 
  • A mill
  • A gas burner
  • All the grains, hops and yeast required to replicate the Chema's Cahuita Amber Ale
 With every thing in place and ready I called my best friend Solson and had the following conversation (at least a very close memory from a year ago):
Adrian: Hi Sols!
Solson: Hi bro
Adrian: Dude, what are you doing next Saturday?
Solson: Nothing, why?
Adrian: Want to brew some beer?
Solson: yeap!! I'll be there!!!

We set up all the equipment, read a couple hundred times the recipe and directions and with much excitement started brewing.
I can surely say it was a learning experience, we had issues with temperature control, boiling, cooling but, after about 6 hours we had our beer ready for the yeast to be added. After 2 very long weeks we bottle it and after another 2 very long weeks we were able to taste it.
Happily... it had a great flavor!... it also had a lot of alcohol in it (sorry... forgot to measure the gravity so, it will remain a mystery) but it tasted good! we enjoyed all of it and were convinced that we should continue brewing.
Now, almost a year after our first brew (June 10th, 2012) we decided to pay our respect to the guy to started us in this mystical and delicious brewing journey, our friend Chema and this is why, we decided to celebrate our anniversary brewing a special Amber Ale using Chema's Cahuitas recipe as base (we add our own modifications), we added a bit more Crystal Malt, used only Cascade hops,  and boiled for 90mins :-).
During this year, we've meet a lot of great new friends and rejoined with great old friends, home brewing has allowed us to enhance our friendship and that is why we are happy to share our brewing experiences with you, and now... the pictures!!!

Brew day, get every thing set up, clean and sanitize again and again :-)
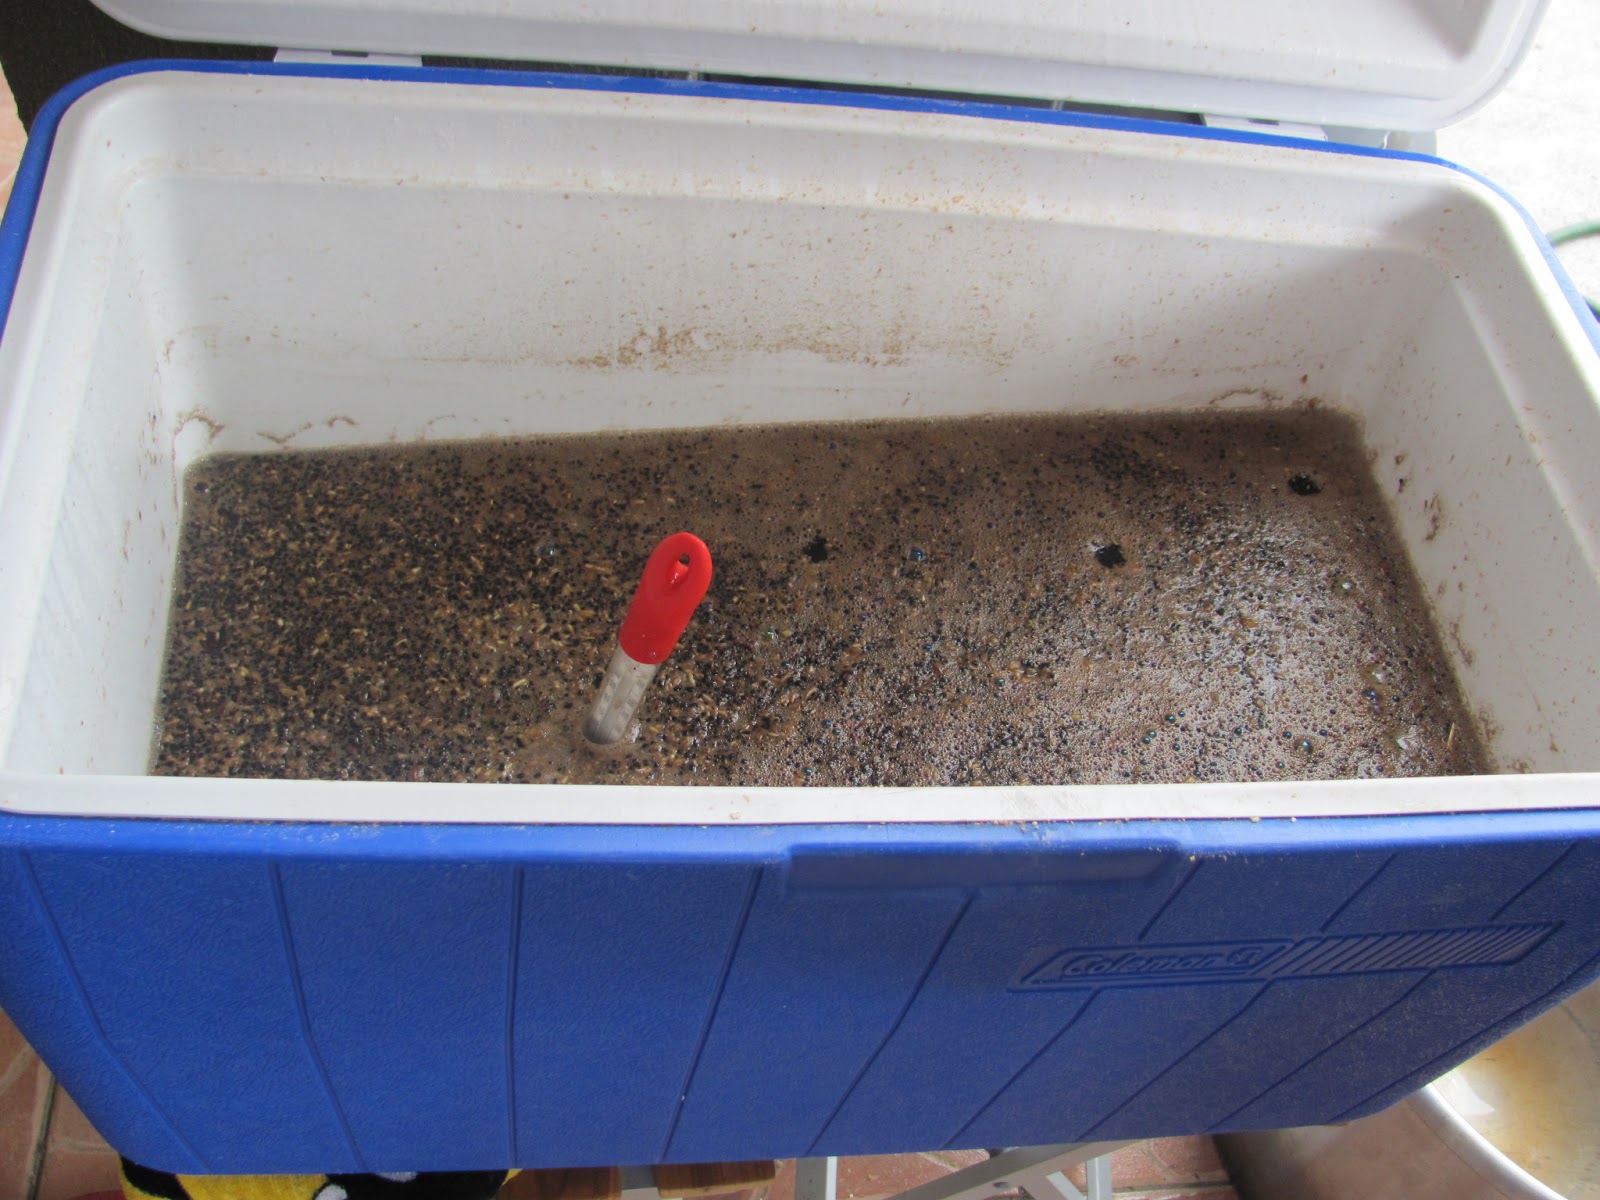
 Mash tun set up, don't forget the filter!!!
 Strike water ready to hit the mash tun
 Can you recognize this? oh yeah!!!
 Our very cool CCO and Sanitation Engineer making sure we have a nice mash with no lumps of dry grains.

 Happy brewers!!! I know... I know we don't have a home brew but our honey porter was still conditioning and we needed to drink something!!
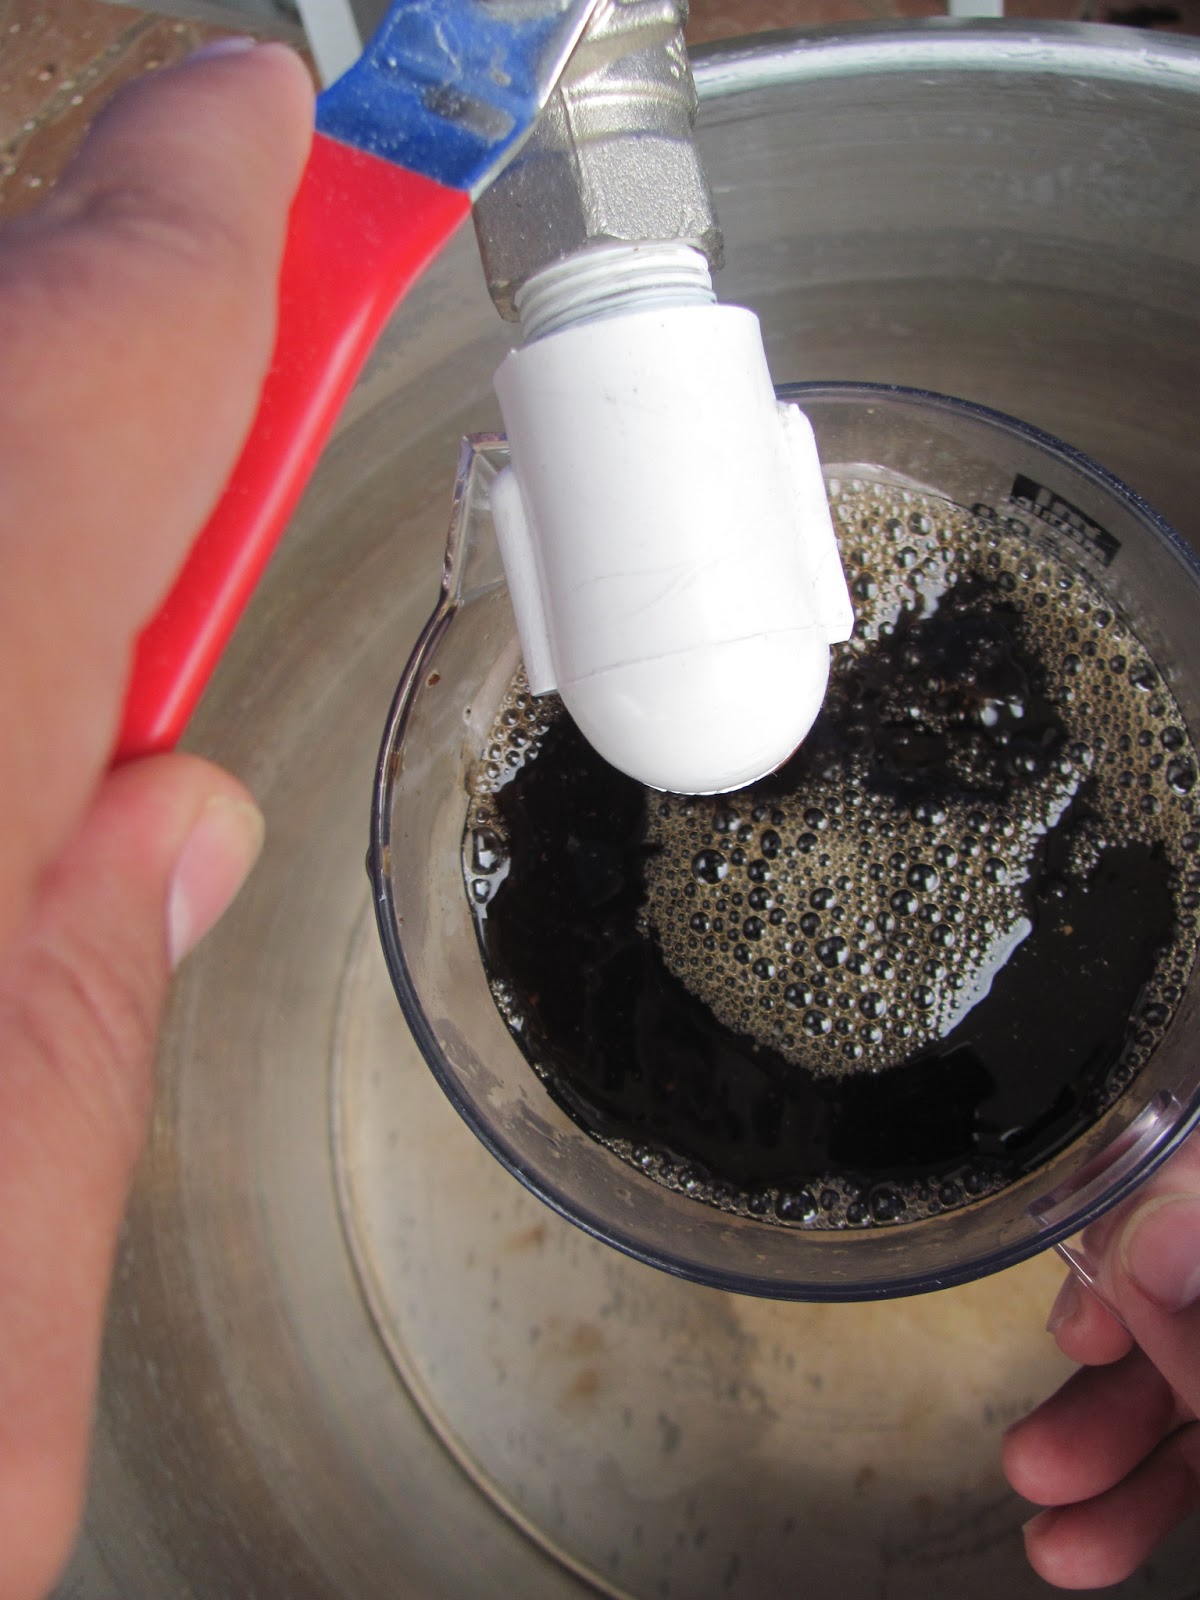
 Wort... sweet wort!!!


 Hot break almost done!!! let's get ready for hops!!!
 Really Randall, those green pellets that smell funny are Cascade hops!!! I swear!!
 Adding out 1st oz of Cascade hops!!!
 After 90 min boiling, it is time to use our chiller to cool the wort... look how much it has evaporated but, that is the tax you need to pay for a good home brew :-)

 Randall, make sure no one touches the beer!!!
 Working as a team!!! there is still a lot to be done before calling it for the day :-)


Thank you all for taking the time to look at our brews and our blog, we will try to set up a meeting to share this special brew with you, keep a close eye to your facebook calendar!!!

Happy brewing!!

Adrian

Monday, April 22, 2013

Our growing edge.... beer burgers!!!

Encourage by our friend and chef Chandler Tomayco (http://thechefwithredshoes.wordpress.com/) and "our growing edge" initiative (http://bunnyeatsdesign.com/our-growing-edge/) we decided to document our interesting experience cooking with our home brewed beer.
It is almost a year (in June 10th 2013) that we started home-brewing; although our blog is not that old, we've being growing and exploring new recipes that turn out to be really good, at least for our family and friends.
One of the most interesting edges of beer brewing is, the ability to increase the friends/family reunions, in the best sense it can be said so, as your friends and family continue to visit you in order to help with "beer-quality-control" at some point, we all get hungry.
The natural step would be, to open a bag of chips and share them but.. what if we cook something? what if we cook something with our home-brew in it?
This might sound simple for anyone with a cooking background but, for someone with less than a year of beer-brewing experience and no cooking training (but very passionate for food!!!), it can be become into a very interesting challenge.
The first question that came into our mind: what to cook?, naturally, something that would pair up nicely with beer and, of course, our options, as beer lovers were pizza or burgers; we are completely aware that, for a professional chef, the options would be endless but for us those were, not only the only ones but the best ones, so, after a short debate, we decided to grill some great beer burgers!!
Here is the recipe we followed:

Ingredients:
- 1kg lean ground beef
- 1 medium red onion
- 1 tsp smoked paprika
- 1 tsp ground cumin
- 1 1/2 tbsp Montreal Steak Seasoning
- Coarse salt and ground black pepper to taste
- Handful finely chopped fresh flat-leaf parsley
- 1 tbsp Worcestershire sause
- 1/2 bottle of Dos Amigos' Gambrinus Cacao Stout

Our stout has a medium body with awesome roasted coffee and chocolate flavors, (in our blog you can find, not only the highlights of the brewing but also a video review of it) we added home-roasted cacao nibs to the mash which can be nicely perceived in the aroma (I'll let you know when we brew more of it)
We mix all the ingredients the night before and let them rest. The next day, we light up the grill, formed the patties and grill them the best we could to a nice medium rare.
Beside having a tasty burger patty, we needed a really nice bun to hold it, we were lucky enough to have fresh, home baked pretzel buns, which were provided by one our friends.
This first attempt to cook with our beers was a great experience, we all enjoyed a huge burger with a delicious home-brew and we are looking forward to do this recipe again.
Hopefully, we'll share the experience again.

Thanks and happy brewing!!


Tuesday, March 5, 2013

Brewing for the future!!!

In many and different occasions, life offers you the opportunity to help others, some of them are not very clear and hard to understand but others, you get a simple request that makes you smile, in the particular case of Dos Amigo's Home-Brewing, we got our chance to help a young student, the request was simple: "can you please help me brew a beer for my entrepreneur course"?
As you might imagine, this made us really happy since, first of all, we love to brew, even if it is not for our self, it allow us to continue practicing, revising recipes, refining our process and second of all, we are always happy to be able to help others.
Our labor started when with the request it self, we were requested not to brew "some" beer but "a" beer, we needed to suggest a beer that would really make an impact when tasted by the rest of the classmates assuring a successful entrepreneur class. We thought it should have a nice body, dark color but not a very bitter taste (just to make sure it pleases the low-hop palate of most Costa Rican's) so, having brew it before and knowing how it tastes we suggested to brew a Honey Porter.
Based on our previous experience, we required to adjust the recipe a little bit in order to bring down the final alcohol content (not that it bother us but.... well... they are students) 8.7% is a bit high and we believe that bringing it down to ~5-6% would provide a beer equally tasty that won't take you down that easy.
So, having done some calculations and adjustments, we started our process for brewing this version of the White House Honey Porter (we haven't come up with name, since it is a project, it should be the student who comes up with it), and here are some pictures and notes from our process :-)

Setting up the home-brewing equipment

Special malts lining up for the mill, just in case it is hard to read we have chocolate malt, crystal malt, black pearl and special roast

 Getting our engineered grinding system in place, oh yeah!!!

A last look at the malts before going into the mill

Drill power!!! it has reduce our grinding time to less than 2 minutes with great results!!!


Final result, a lovely bucket of cracked grains

Personally, this is my favorite step of the process, the aroma the malts releases as soon as they touch the water is unbelievable!!!


While we waited for a few minutes prior checking on the mash temp, we had a nice discussion on the hops to be used

Perfect mashing temp: 67C

Whirlpool time!!! just look at that color!!!

Getting the wort!!!


Close to the hot break!!!

and the first addition of hops: Perle!!

At 5 minutes to the hour, we added the honey!!!

 Always keep and eye on the temp ;-)

Siphoning the cool wort into the fermenting bucket, it takes a bit more time, but it is easier to control


Before pitching the yeast, make sure to capture the Original Gravity :-)

Then, pitch the yeast, put the lid and wait for 2 weeks for fermentation to be completed :-)

About 8 hours after we pitch the yeast,  the first bubbles started to come out, 1 more hour and we had huge activity!!!, due to the high sugar content of this beer, we knew we couldn't use a regular airlock but a blow off system, just to avoid something going wrong :-)

See you again soon, we'll get more pictures when we bottle this baby :-).